As a general rule of thumb:
Assist cows if there’s no progress within 30 minutes of the waterbag showing.
Assist heifers if there’s no progress within one hour of the waterbag showing.
OR assist if you see:
Only one leg.
Only the head.
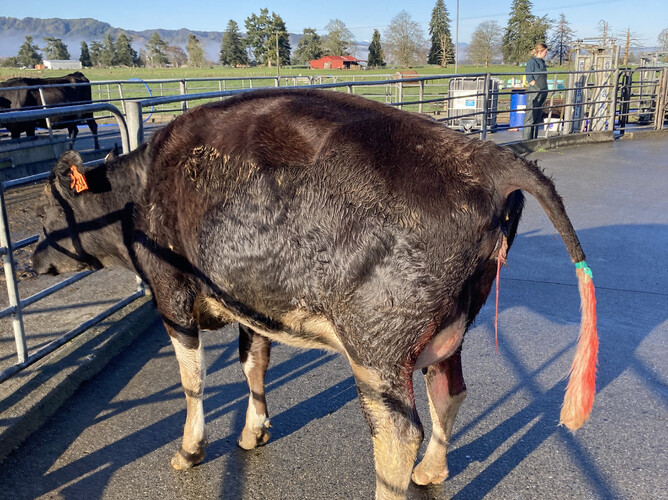
A back foot or the tail (indicating it’s backwards).
No feet after active straining.
The cow appears tired or distressed.
If unsure, call your vet. The longer you wait, the more chance of a stillbirth or injury – and your vet is here for these exact situations.
How to assist a calving safely:
1. Prepare yourself and the cow
Bring your calving kit, including gloves, disinfectant, lube, ropes/chains and puller.
Restrain the cow in a race, head bail or pen for safety.
Wash the cow’s vulva with clean water.
2. Check the calf’s position
Gently insert your gloved, disinfected and lubricated hand into the birth canal to feel what’s happening with the calf.
If the calf is presenting normally, you should feel two front feet and a nose coming together, with the hoof soles facing down.
If the calf is mispresented, you’ll likely need to reposition it, which can be difficult. Call your vet if you’re not sure how to achieve this yourself.
Use lots of lube!
3. Attach calving ropes or chains
Loop ropes/chains securely above the fetlocks on both front legs.
Use a double half-hitch to spread pressure evenly and ensure the legs will not be injured.
Pull gently backwards in time with contractions. It may help to alternate pulling the left and right leg to ‘walk’ the calf out.
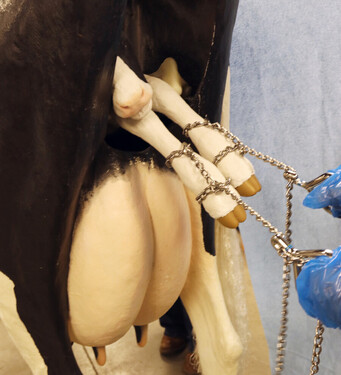
Photo credit: Andrew Kingsbury, Iowa Beef Center, Iowa State University
4. Use a calf puller (if needed)
Only use a puller if both front legs and the head are in the right position – and even then use it carefully!
Gently pull downward and outward in a smooth rhythm in time with contractions.
Stop if you’re using a lot of force. If it’s not coming easily, get help from your vet. Sometimes the calf’s shoulders can be stuck or there might be another problem.
5. Care for the calf after it’s born
Clear mucus from the calf’s nose and mouth.
Rub it briskly with a clean towel to stimulate breathing.
Spray or dip the navel in iodine.
Make sure the calf is fed colostrum within two hours to give it energy (tube feed it if necessary).
6. Monitor the cow
She may need treatment for energy loss, pain, or injury.
Look out for signs of distress, internal tearing, retained placenta, or twins.
Final tip – know your limits:
If the cow is straining hard but not progressing, or if the calf feels too big or wrongly positioned, don’t wait too long to call your vet. A delay can cost both the calf and the cow.
Being calm, clean and prepared makes all the difference, but assisting calvings safely is a skill that improves with practice – and knowing when to ask for help is part of doing it right!